Hello, and thanks for your interest in Outlinx! My name is Derek and I’m the creator of this product. I think you’ll find Outlinx to be really useful as you start to link digital notes to the things around you. Please allow me to answer some questions, and show you around a bit.
Do you need to login or create an account?
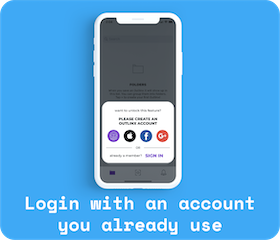
If all you want to do is scan a sticker that someone else created, then there’s no need to login or create an account. With the mobile app you can scan Outlinx stickers and view pages without an account. You can also scan stickers with the native camera on your iPhone or Android device, and the Outlinx page linked to it will show up in a web browser! If you're not logged in then you are limited to scanning and viewing Outlinx note pages.
However, I do recommend you login or create an account to use all of the Outlinx features. While logged in you can do things like; create note pages and link them to stickers, edit shared note pages, save note pages, etc… To make it easy for you we offer a handful of familiar ways to create an account. You can use your Google ID, Facebook ID, Apple ID, or you can create an Outlinx account. If you decide to create an Outlinx account then please remember to verify your email or the app will not function properly.
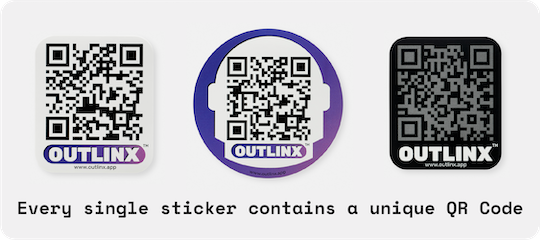
A few notes about Outlinx qr smart stickers (aka labels).
Every single sticker contains a unique code. There are no duplicates no matter how many stickers you get your hands on. I use the terms “sticker” and “label” interchangeably so they refer to the same thing. Multiple stickers can be linked to a single note page, and stickers can also be unlinked from a note page. You have control over how you use them. They can even be reused to some degree.
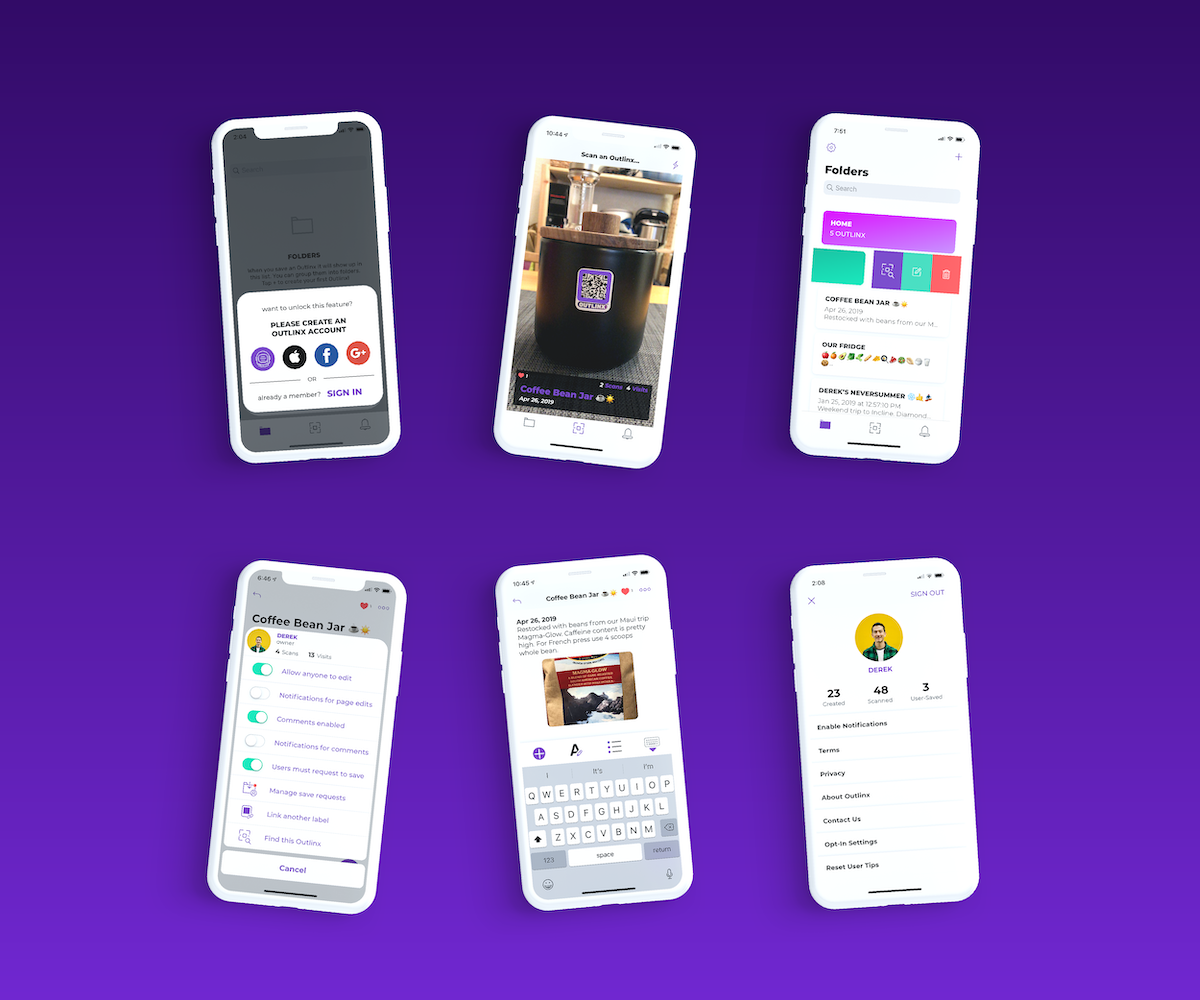
The Outlinx mobile app - main screens.
When you first launch the app you are guided through a short onboarding process. The only permission that we really need is the permission to use your phone’s camera. We also ask for permission to send you notifications about the mobile app, and to occasionally send you emails about things related to Outlinx. These notifications and emails permissions are completely up to you, and you can change your mind about them anytime via the settings screen.
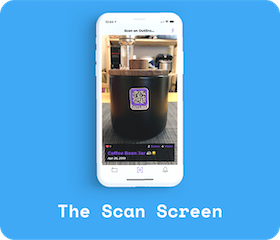
The Scan Screen:
After onboarding you’re taken to the Scan screen. The Scan screen shows you what your camera is capturing. This is how you scan Outlinx stickers. If you capture an Outlinx sticker on the scan screen a live preview will pop up to tell you something about that unique sticker. The preview will tell you if the sticker is blank, tell you a summary of the page, or it will tell you if the qr code you scanned isn’t an Outlinx qr code.
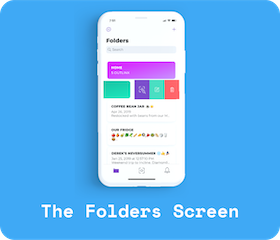
The Folders screen:
To the left of the Scan screen is the Folders screen (aka Folders). Folders is where you can organize all of your Outlinx pages. The Folders screen is basically a list of all the note pages you created or saved. You can group your note pages into sub-folders to keep things more organized. If the list on your Folders screen gets too long you can also search to find the page you’re looking for faster! Swipe left on a sub-folder in order to; edit the name, scan to find the sticker it is linked to, or delete it. You can also swipe left on a note item in order to; move it to a sub-folder, scan to find the sticker it is linked to, or delete it. On the Folders screen tap the “+” icon in the upper right corner of the screen to create sub-folders, and to create new note pages.
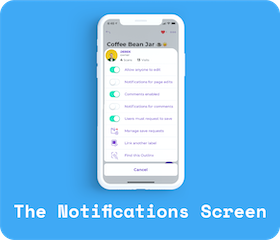
The Notifications screen:
To the right of the Scan screen is the Notifications screen (aka Notifications). This screen comes in handy when multiple users share the same stickers and note pages. The Notifications screen will let you know if someone has edited a page you created, or saved a page you created, or changed a page you saved, etc… If you’re just using Outlinx in your home for personal use then you may not need the Notifications screen. If you’re using Outlinx in an office, or sharing a note page with your family, then you’ll find Notifications to be useful.
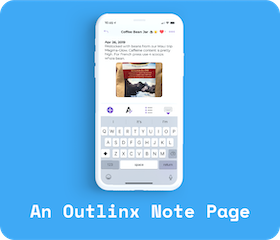
Note pages (aka Outlinx note page, note page, or page):
The screen you’ll probably use the most is an Outlinx note page. This is where the magic happens. Connecting customizable note pages to stickers is the essence of Outlinx. Note pages allow you to add or edit text, images, URL links, lists, and comments. There are also some more advanced settings you can apply to a note page. Tap the purple circle button in the lower right corner to post comments, or to view the comments for a page. Tap the ellipses menu (3 dots) in the upper right corner to set some more advanced settings for a note page. This is where you control the settings for a note page. You can do things like; allow other users to edit one of your pages, turn off the Comments feature for a page, choose how you’d like to be notified about a page, allow other users to save one of your pages, link other stickers to a page, or scan to find the sticker a page is linked to. The settings available to you will be different depending on who created the page.
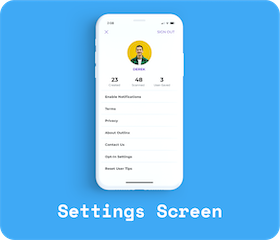
Settings.
Settings is where you can control your account-level settings. You can do things like; view stats on your account, change device notification permissions, change your opt-in permissions, reset the new user tip popups, or view our privacy policy & terms of service. To access the Settings screen, go to the Folders screen, and tap the icon that looks like a gear in the upper left corner of the Folders screen.
The owner of an Outlinx note page.
Due to some of the advanced settings, it made sense to assign authorship to note pages. The person who creates a note page is known as the Owner of the page. The Owner of a note page has the most control over it. They get to decide if anyone can edit a page, to turn on or off the Comments feature, and if other users need to request to save the page. The Owner is like the admin for a page. The Owner’s controls are mostly all or nothing. Either everyone can edit a page, or only the Owner can edit a page. Either everyone must request to save a page, or no one needs to request to save a page.
A note on data privacy
We take your data privacy and protection seriously. If you do provide an email we will keep it safe, and never spam you. We do use 3rd party services in our backend to store and transfer the digital information that makes Outlinx work. These 3rd party services are all well-known and trusted services that comply with GDPR standards. We do not extract any data from the content our users create on Outlinx. We don’t need to, because we make money the old fashioned way - by selling goods (or in our case stickers).
We are working to make Outlinx GDPR compliant in the near future. The mobile app was designed with privacy and security in mind from the beginning, so we’re almost there. Outlinx is GDPR compliant in spirit, meaning we don’t violate its mission in any way and we believe in the principles outlined in the GDPR. The only reason we can’t say Outlinx is GDPR compliant now is simply because we haven’t dedicated the resources to take care of, and fully commit to, the regulatory responsibilities.
Hopefully that’s enough information to get you started. If you have any questions send me an email at support@outlinx.app
